New vehicle
There are two main ways you can create a new vehicle. You can either duplicate an existing prefab and apply the changes you want, or start from a new mesh and follow these instructions:
Gameobject creation
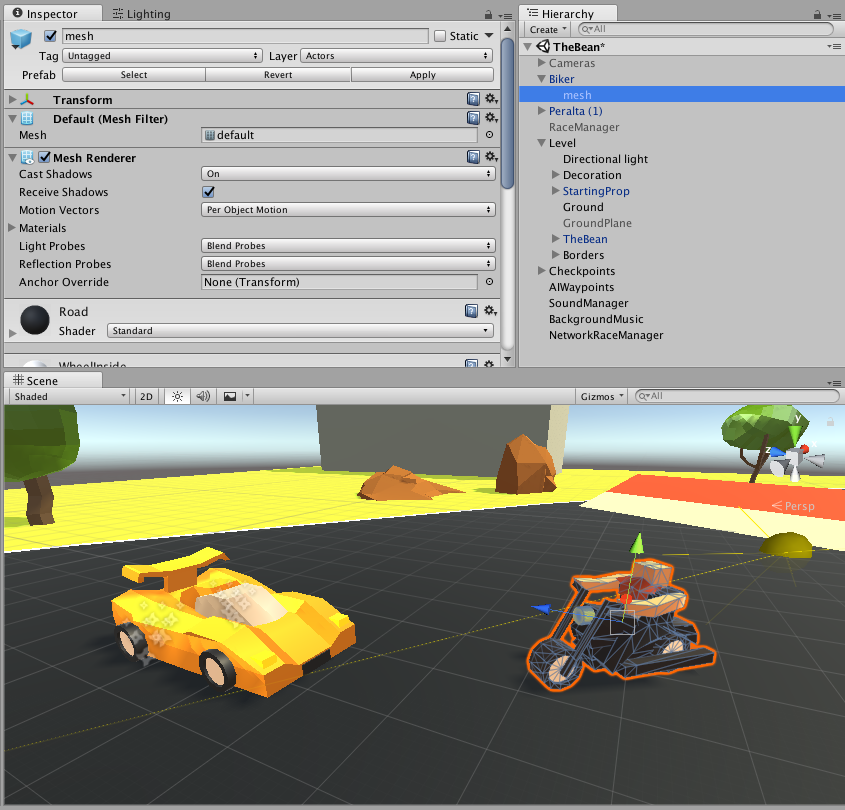
Open a track scene (useful for scale, but you can also do that in a blank one), create a new empty gameobject in the scene and nest the new mesh into it. For this example, we’ll create our new vehicle into the “TheBean” scene. For our mesh we’ll use the bike.obj mesh you can find in the Tutorials/Models folder. You can add another vehicle prefab to the scene to compare sizes. Here’s what you should have:
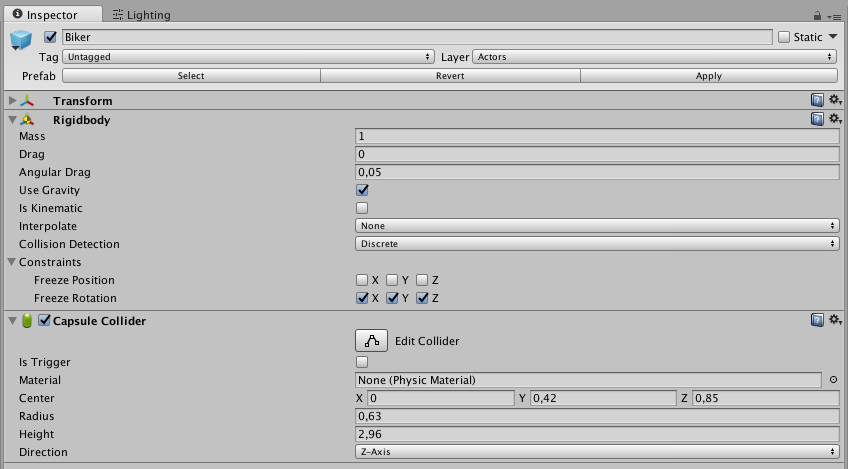
Name your top object Biker, then modify the top object’s layer to Actors. Now you’ll need to add a rigidbody and a collider to it, as the gameplay is based on physics.
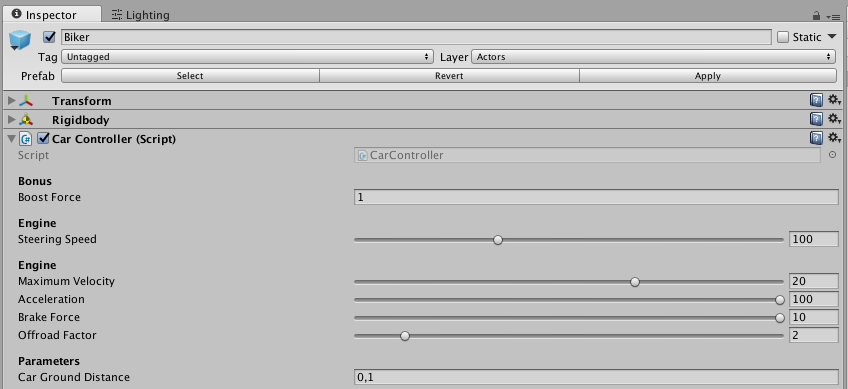
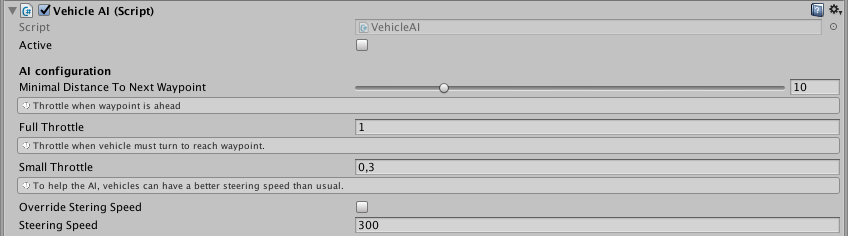
You can now start the scene to check if gravity is correctly applied to your vehicle. The last mandatory step is to add a controller to your top gameobject. There are 2 controller classes provided with the asset : CarController and AirCarController. You can use one of these controllers, extend them, or create your own if you prefer. The new class will need to inherit from the BaseController class, that’s the only requirement. In our example, you can use the CarController class.
By default, an engine with standard values is setup. This is what we’re gonna use.
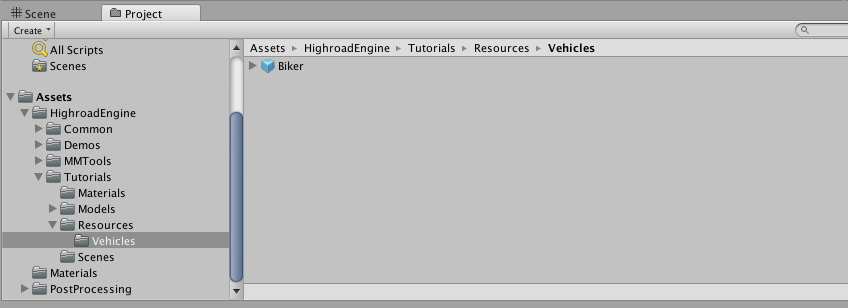
You can now test your new vehicle. To do so, we’ll create a new prefab from this gameobject (just drag your vehicle from the scene view into your hierarchy - it has to be into a Resources/Vehicles folder). You can then remove your vehicle from the scene, as it’ll be instantiated automatically by the engine.
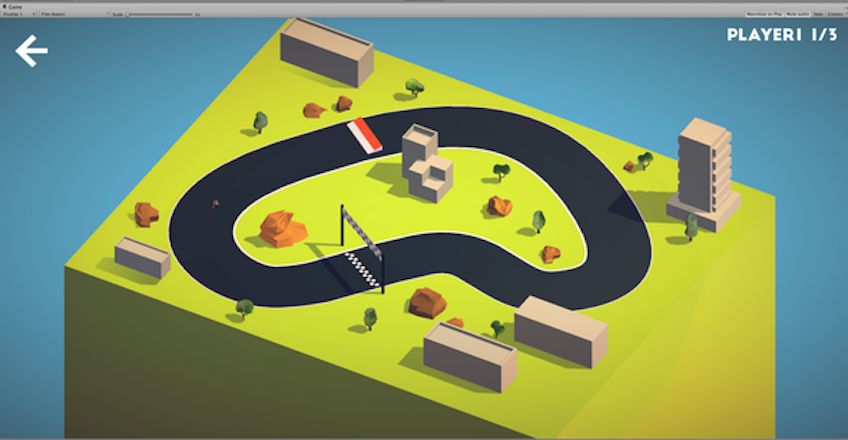
We’ll now use the scene’s Test mode to give our vehicle a try. To do so, simply drag your Vehicle prefab in the first slot of your RaceManager’s TestHumanPlayers array, under the Test Mode section at the bottom of its inspector.
All you have to do is play the scene and test your vehicle and tweak its controller.
How to add an AI?
You now have a playable vehicle. Maybe you’d want it to be AI controlled? In this case all you need to do is add the AI component to your prefab. It’s automatically setup with a default behaviour suitable in most cases.
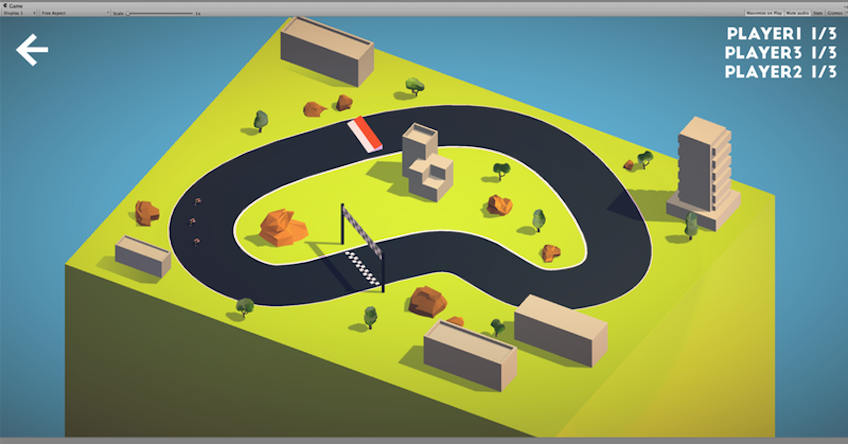
To give it a try, in Test mode, we’ll add 3 bots and watch them roll.
Add effects
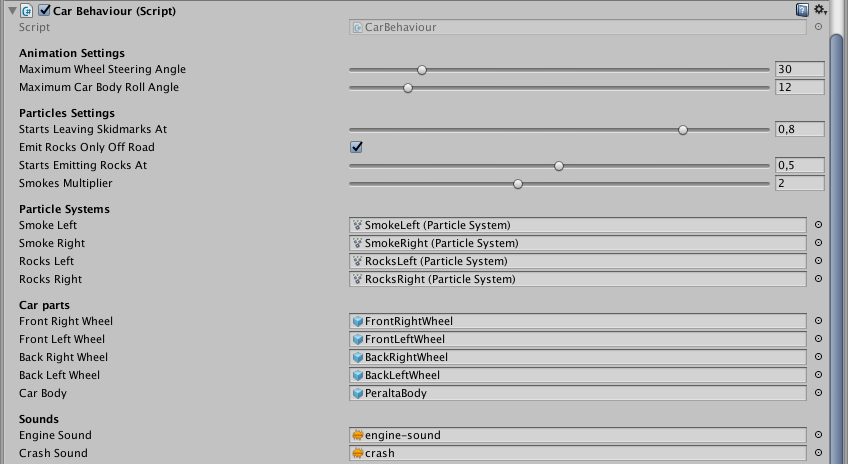
Behaviour type classes such as the CarBehaviour allow you to add animations, dynamic effects (smoke, etc) and sound effects that will improve the feel of your game. To do so, you can take inspiration from what has been done on the existing vehicles, or create your own effects.
Lobby Compatibility
The prefab must contain a VehicleInformation class made of two fields :
- the name of the vehicle that will be displayed in the lobby
- the image of the vehicle that will be displayed in the lobby

Now you just need to add this Prefab to the available vehicles list in the local and online lobbies.
Network Compatibility
One of the technical limitations of PUN2 is that you have to duplicate the prefab to create a network specific version. If you don’t, the “network” objects (the ones with a NetworkIdentity component) will be disabled when the game is not in network mode.
However, creating a network version of your vehicle can be easily done :
- duplicate your prefab (ctrl + D or cmd + D) and name it NetNameOfYourPrefab by convention
-
Add the following components to the new prefab:
- NetworkVehicleController
- Networkdidentity (make sure you check “Local Player Authority”)
- NetworkTransform
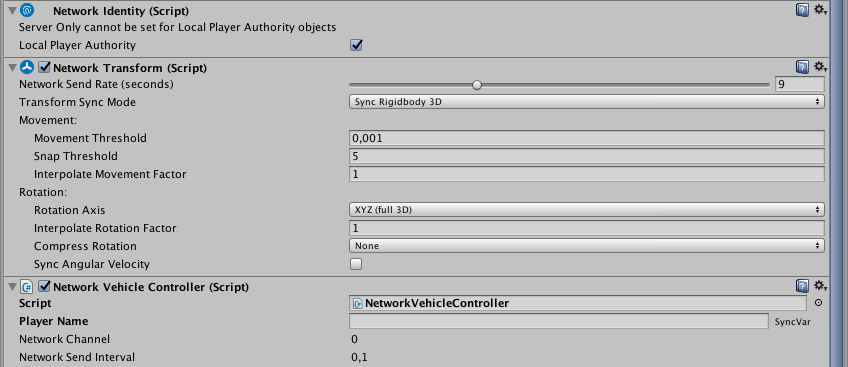
Tweaking the NetworkTransform sync requires a few real-life tests. Don’t hesitate to test this part thoroughly.